Setup: Scales
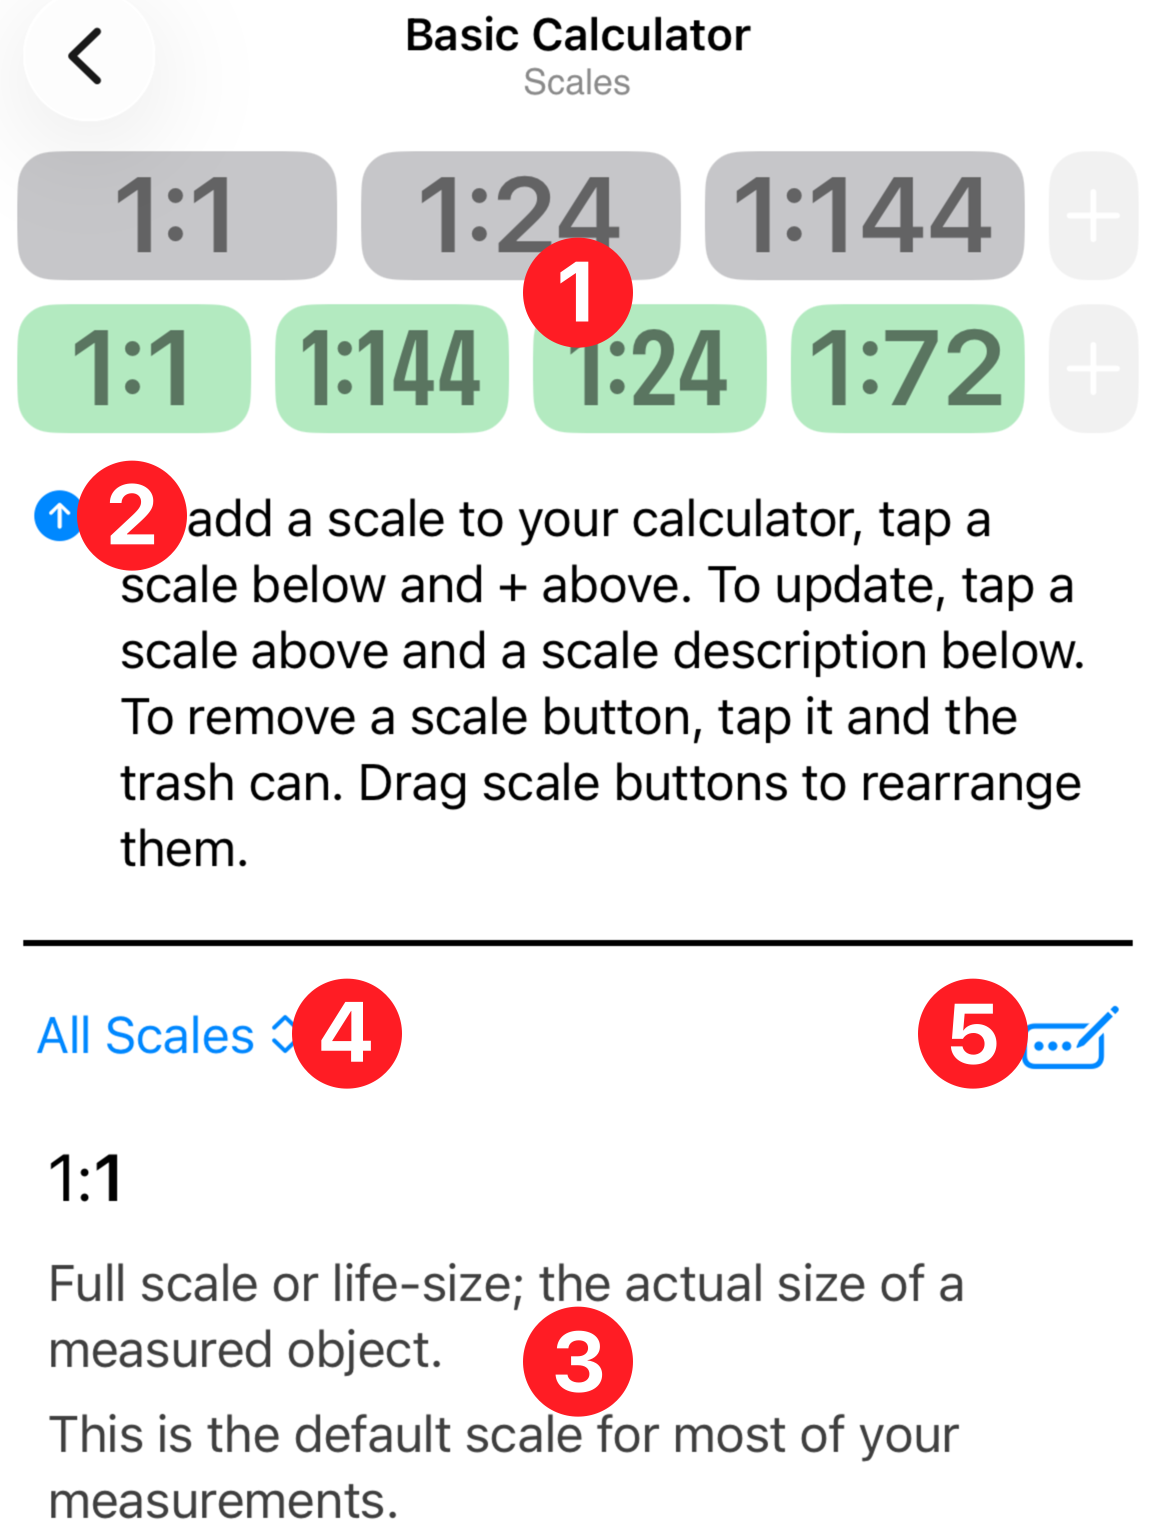
 Measurement and result scales are configured from this option. The two rows of buttons on top are color coded the same as they are on the calculator: gray for measurements, green for results.
 The help text just below the scale buttons is handy, but it is rather large. Tap the small arrow button to minimize or expand the text block.
 The lower part of the screen is a collection of scales available for your use in the calculator. Notice that the list is large and includes scales typically used in many different endeavors and maker categories. Select an option from the filter
  to narrow the list. The Favorites and Custom categories allow you to build your own lists (more about those options below).
 Menu options here allow you to manage your Favorites and Custom scales. You can also create your own scales explicitly or with measurements.
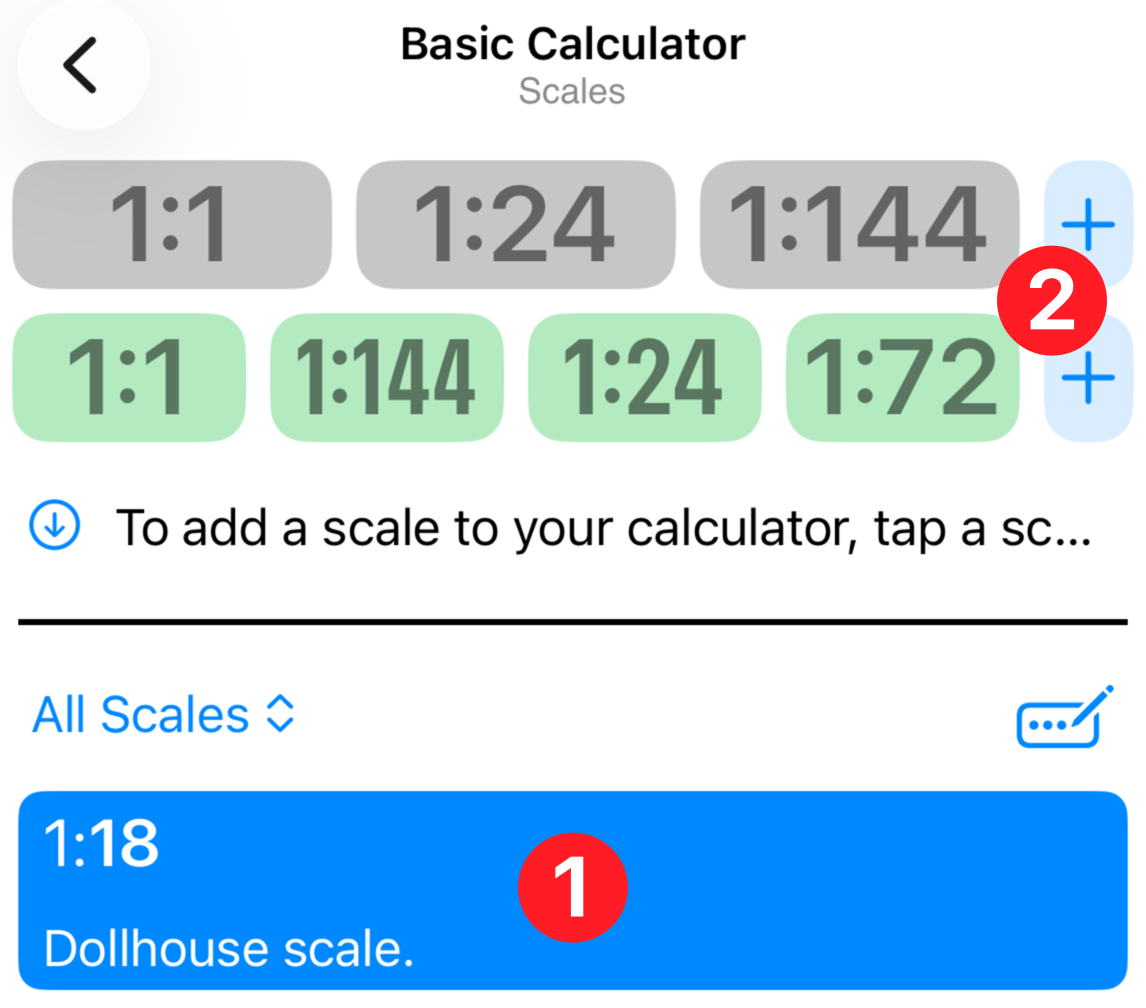
To add a button to the measurement or result row, select a scale from the list by tapping it. The scale will highlight and remain that way until you act on it (tap again to unselect it). The + button will appear active next to rows that have available space for a new button. Just tap + to add the selected scale to the row. If the scale is already in the row, nothing will happen.
You can move a scale button by holding it down and dragging it where you want it in the row. It's not hard to do, but you may want to practice it once to gain some experience with the action.
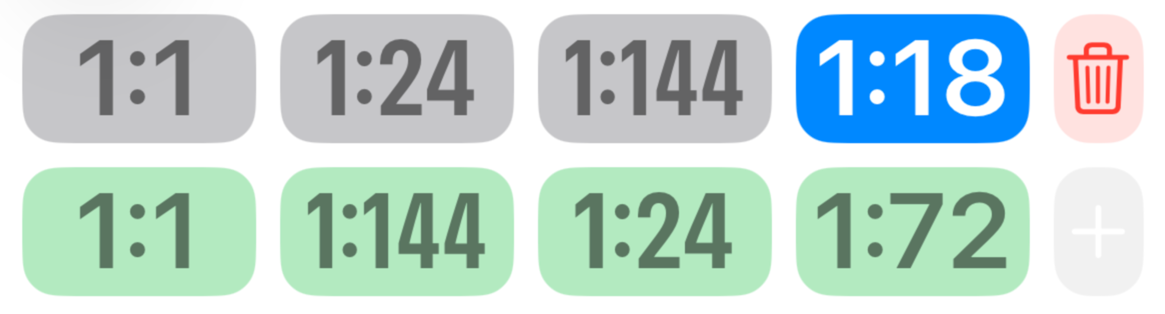
To remove a scale, tap it and then tap the trashcan button.
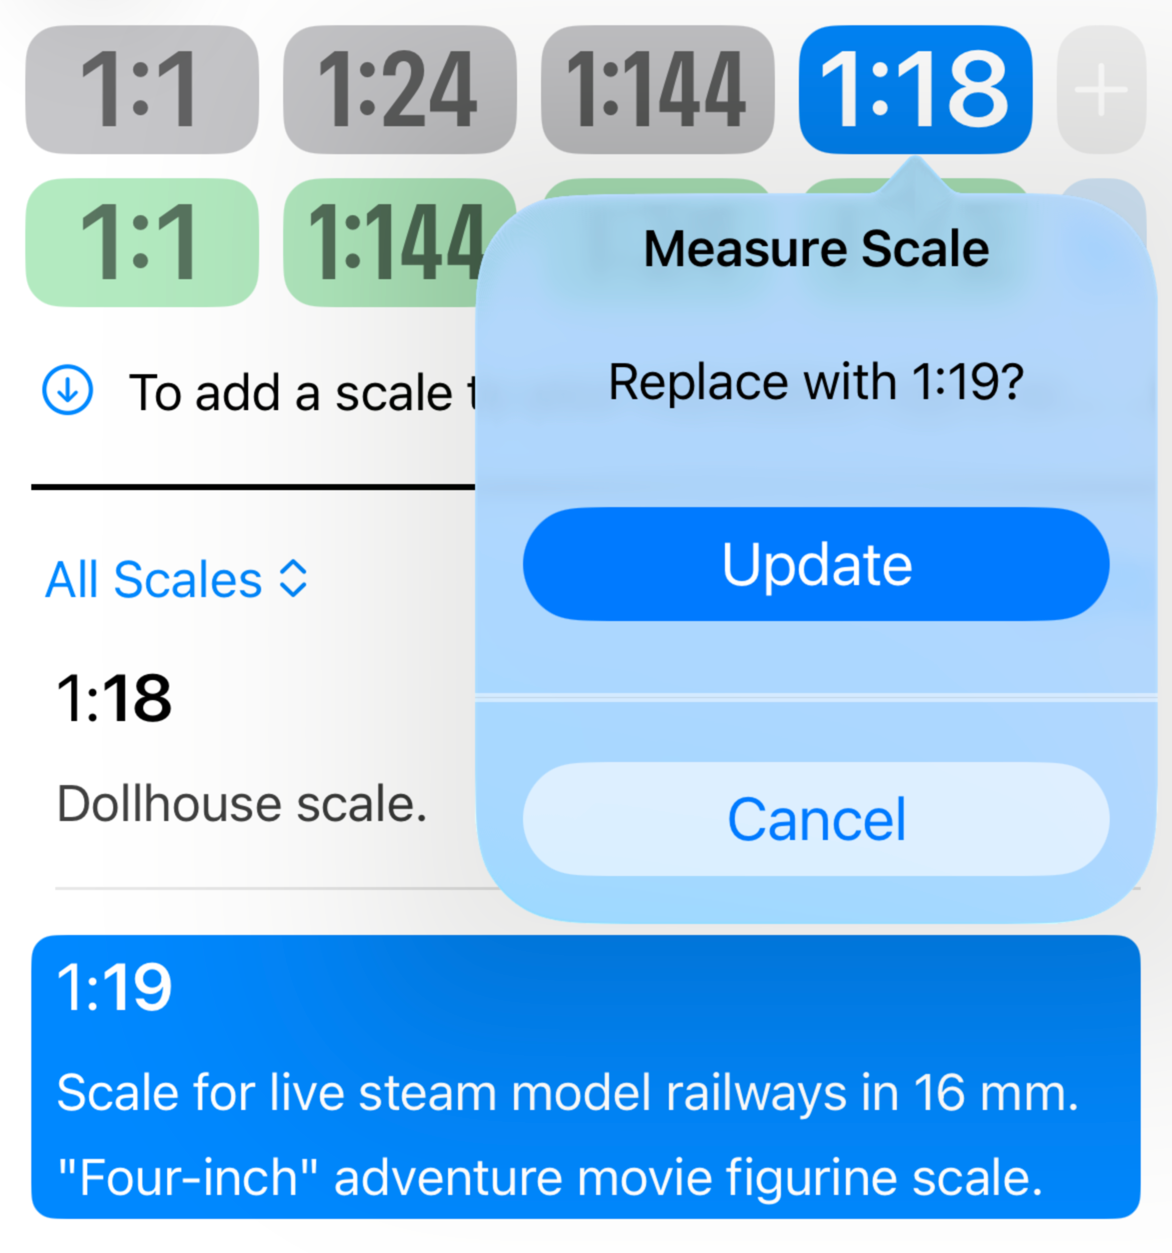
You can also change a button scale by selecting it and then selecting a scale from the list below. A window will popup where you can confirm the update.
All of your changes are saved automatically to the currently active calculator. The navigation title at the top of the screen will remind you which calculator is getting updated.
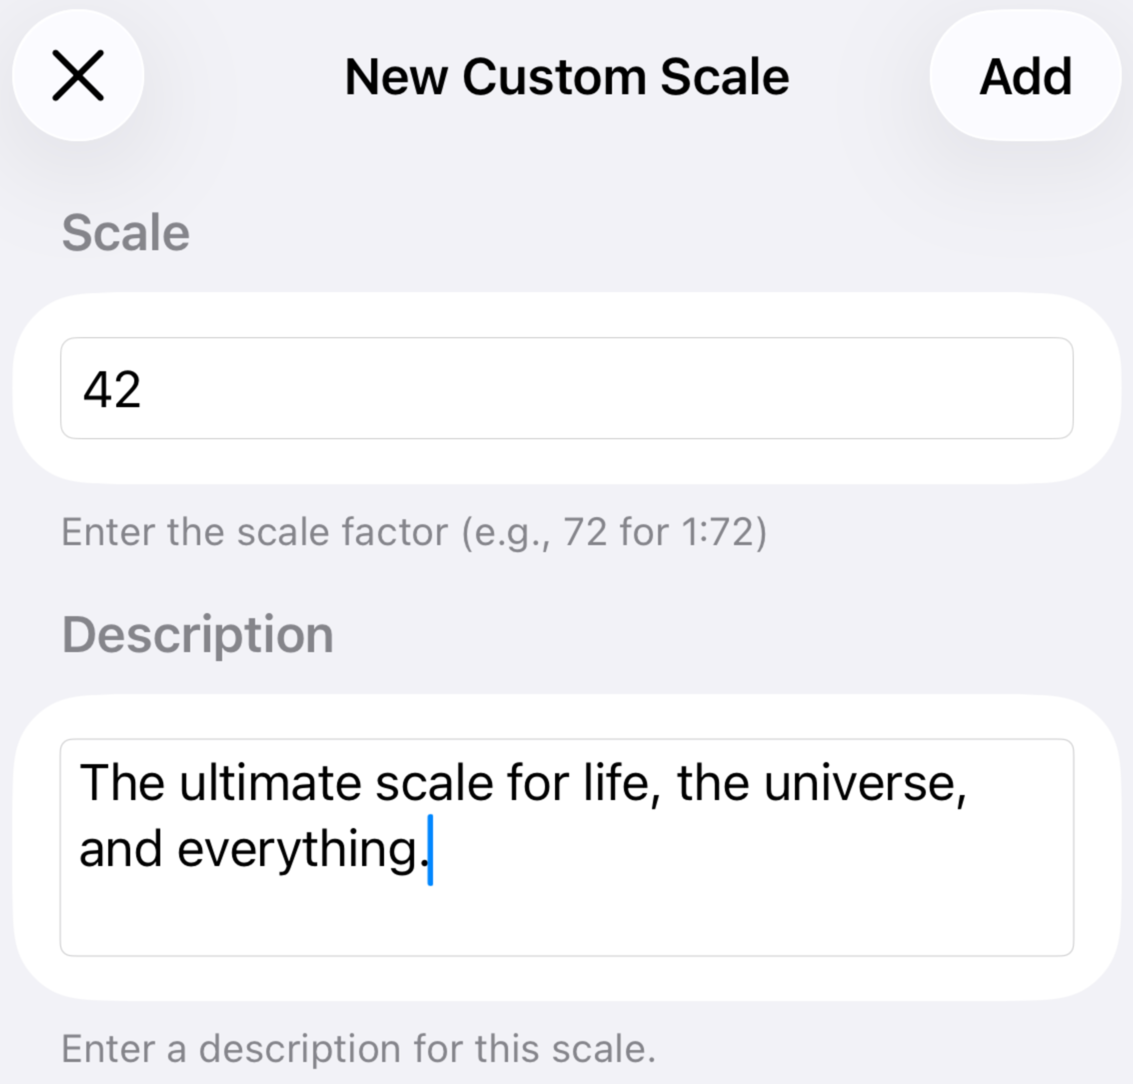
You have two methods for creating your own scales: by declaration or calculation.
Select the New Custom Scale option from the menu to create a new scale. You only need to enter the proportional value (for example, 72 from 1:72). Include a description that will appear in the scale list. Your new scale will appear in the list marked with a small ruler icon that identifies it as custom. Use the Custom option from the filter menu to display all of your custom scales. To delete a custom scale, select it and then choose Delete Custom Scale from the scale management menu.
Special note: your custom scales will take precedence over built-in scales. Use this when you prefer your own description of a scale. If you delete your duplicate custom scale, the original system version will reappear.
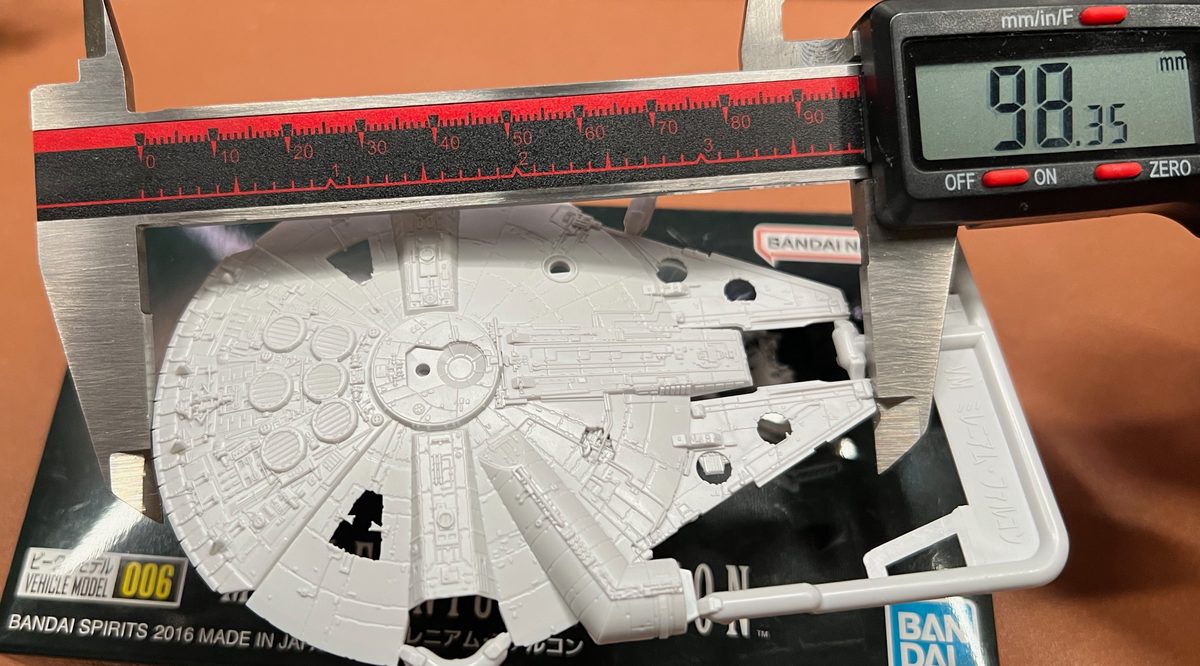
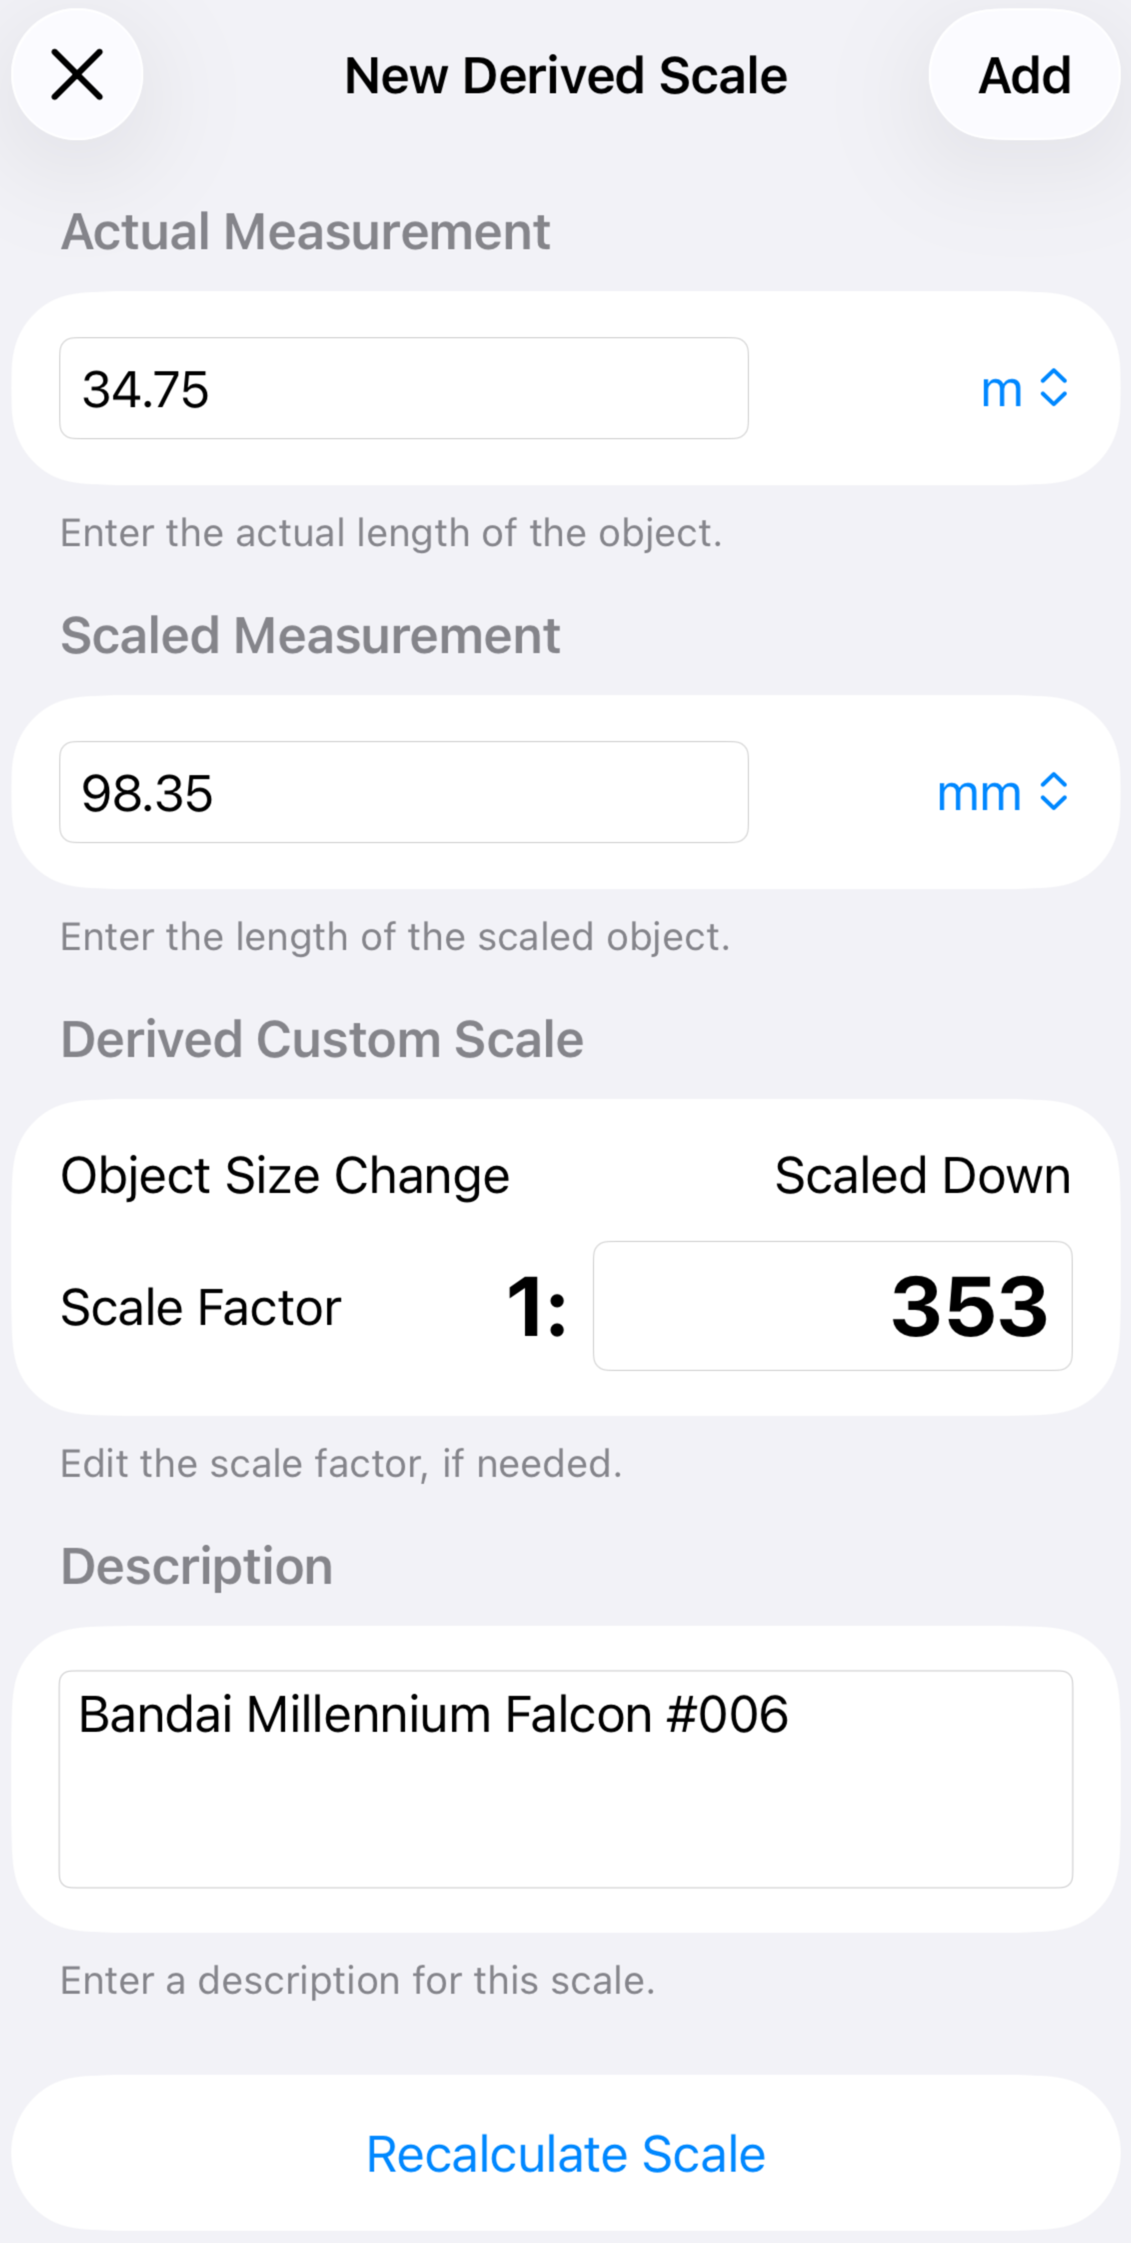
You can also create a scale by measurement. Use this method to expose the scale of a modeled object or to establish a custom scale for your project. You will need the measurement of the object in 1:1 (real-life) scale and the actual measurement at the unknown scale. For example, Bandai manufactures a popular model kit (#006) of a famous spaceship, but the scale is not disclosed. Through research we settled on the actual length of the ship at 34.75 m. Our measurement of the scaled hull of the ship is 98.35 mm. After inputting these measurements, the calculated scale is 1:353.33, which we rounded to 1:353. Tap the Add button above to save this as a custom scale. Notice the Recalculate Scale button, which is handy when fine-tuning your measurements.
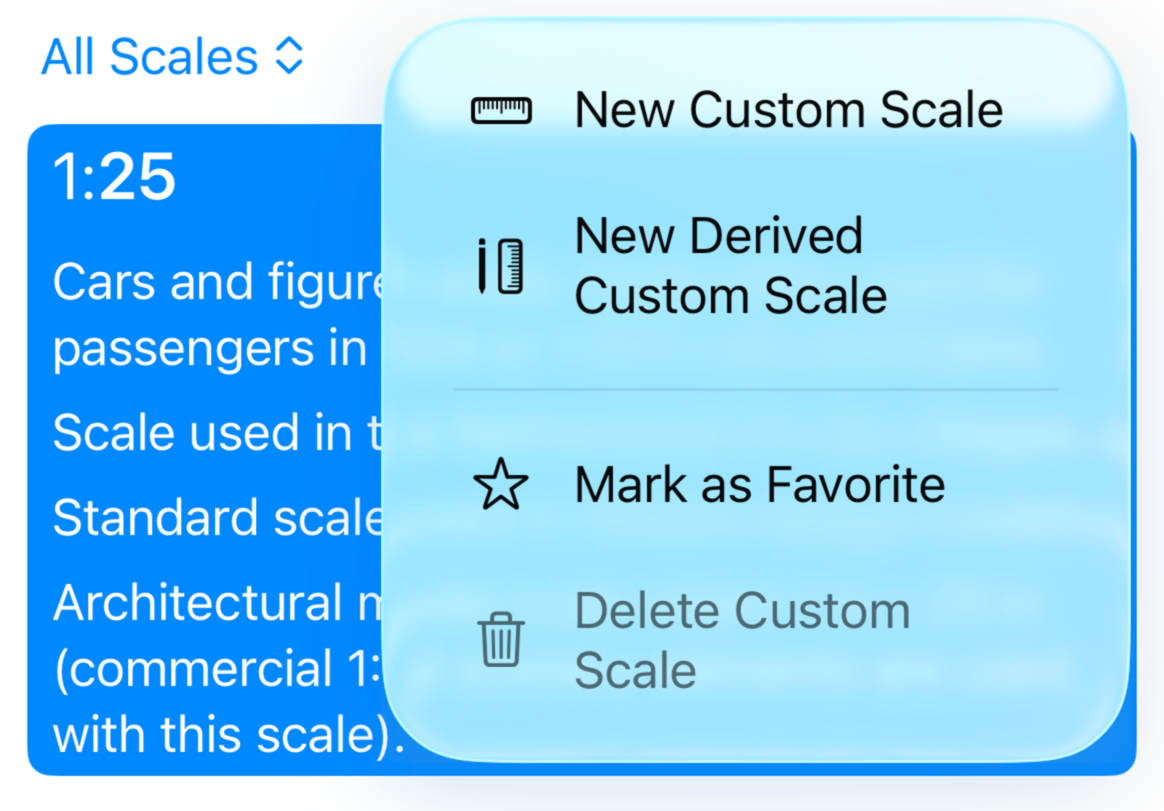
Mark your most important scales as Favorites to make searching for them easier. Select a scale from the list and then tap Mark as Favorite from the scale management menu. A gold star will now appear for that scale and will be available exclusively from inside the Favorites filter. The next time you visit the Scales list, the app will automatically use the Favorites filter rather than list all available scales. You can unmark a scale as a favorite by selecting the scale and then tapping Unmark as Favorite from the scale management menu.